
 We finished the right side of the basement (approximately 450 sq. ft.) and added a door that opens to the unfinished side on the left where the laundry, furnace, water heater, and sump pump are located.
 First we replaced the windows. Then we had a sub-floor drainage system and new sump pump installed by Perma-Seal.
 Next, we were super fortunate to find a couple of guys, John and Robert, who were able to fit us into their schedule right away to do the framing, drywall, and electrical work.
 They came over on a Thursday to give us an estimate, started working four days later, and within 10 days the basement was ready for taping, mudding, and sanding.
 After a few days of that, it was time for us to paint and install flooring. We had heard that laminate flooring is easy to install yourself and an ideal flooring option for basements, so Mike gave it a try. It took just over a day from start to finish!
John and Robert came back for two days of finishing touches (including hanging a few of our old kitchen cabinets), and then it was ready for us to move in.
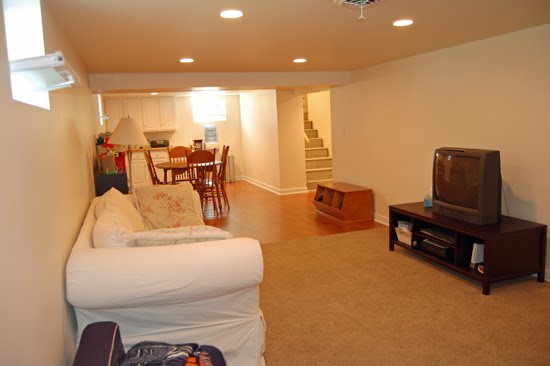
 We're so happy with how it turned out, and the timing couldn't have been any better as our kids' summer vacation is just beginning. The extra space, with a significantly cooler temperature than the rest of the house and a soundproofed ceiling, is just what we needed!


 They were able to take one small load into the backyard, but in the process they drove across the patio and destroyed this 2' x 2' paver that was covering a cistern.


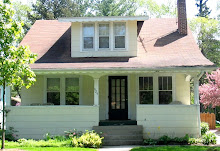
 In August we decided to build a detached 2-car garage in our backyard. We thought we had a pretty good idea of how much it would cost, so we hired an architect and engineering company, and along the way found out it'll actually cost more than twice as much as we had originally thought. But since we had already paid for the blueprints and grading plan, and it won't get any cheaper if we wait to do it in the future, we decided to go ahead with it.


 And then I found this picture on a blog, which was extremely helpful, but unfortunately I have no idea what blog it was.
 So I drew up these plans for the contractor, and everything worked out beautifully.
 (Click on these links to view full-size drawings of the
  Then added plywood.


 Two days later Ray, Sunshine, and Carlos started work. They quickly removed the rest of the kitchen floor, the dishwasher, and some cabinets. The next day they removed the stove, sink,


 Our appliances were delivered on 12/22, and we began using the new refrigerator in our temporary kitchen that we set up in the dining room. We had a microwave and toaster oven, and we used mostly paper plates and cups and plastic utensils.


